Showing posts with label Forsyth Missouri. Show all posts

Saturday, August 2, 2014

Bermuda grass is what grows in the Mid West!

My lawn was a bit over grown and the Bermuda grass had sent seed heads up all over the place! I was going to let it go to seed, but then remembered the following:
Close up of a seed

Bermuda grass makes for a nice home lawn because it can tolerate a very low mowing height, which is also a reason it is widely used on golf courses in the South. It spreads by both stolons and rhizomes, which helps it to form a thick, dense turf. It is usually found in the south, but may grow as far north as Kansas City. Its maintenance requirements (fertilizing, watering, mowing) are high.
  • Width: 1/8" wide
  • Tip/blade: sharp point
  • Color: deep green
  • Growth: forms a dense, close-cut, high-quality turf
  • Additional: most popular lawn grass in the central US. Rough along the edges. Has a distinctive, 3- to 5-fingered seed head.
Therefor, I don't have to worry too much as this grass will spread, just fine, on its own! Time to get that lawn mower out!

Sunday, April 20, 2014

A garden grows in Forsyth Missouri!

Some people would say that the small town of Forsyth Missouri is but a tiny spot on the map and they'd probably be right. However, it is where I call home and I'm thankful because what the town lacks in size, it more than makes for up in a great climate. Situated down in the southwestern part of the great state of Missouri in Taney County I am most definitely in God's Country! The climate is Zone 6 pushing a 7 and so a gardener, such as myself, can get an early start planting out vegetables ever spring along about mid April!

This year, I plan to experiment with a couple of vegetables that I haven't grown before; namely Seed Savers Hot Portugal peppers and a few MarGlobe tomatoes which I'm told are heirlooms. Both of these have gotten pretty good reviews and look promising. While the peppers took right after being sown as seeds, the MarGlobe's were purchased at a local greenhouse and look ready to go out into the garden as soon as the weather settles a bit more. I'm hoping to get them out into the ground within the next week, or around the first of May. The peppers may not get transplanted until late May, however as they are still fairly small.

At any rate, this spring is shaping up to be a real keeper!

Saturday, March 30, 2013

Onion Set Experiment YS3213 Update!


It’s been close to a month now since I planted thirty six yellow onion sets in a small raised bed on March 2, 2013. They are part of an experiment to chronicle how close to a perfect onion I can get. In past years, I’ve been frustrated in that many of my onions failed to significantly bulb up, while others bolted early on in the growing cycle. (See my ‘Onions are Easy to Grow’ video for some idea of how they have often looked)! The prior post can be found here.

For this experiment, I’ve used a loose soil and made sure to keep the plants well watered early on. I’ll need a cool spring too, for the best growing performance envelope, although I won’t be able to control that.

The planting grid I used here followed advice I found on the Internet that suggested each onion set be placed in columns spaced four inches apart with rows separated by six inches. Here is what that planting grid looked like pictured at right.

The weather, especially during the last couple of weeks of March was much colder than normal and so not much growth occurred. However, just recently, it’s begun to warm up nicely and good rates of growth have ensued. This picture at the top is a close up of a few of the larger plants (pictured are cells 12, 22 and 32). As you can see all of these sets are healthy in appearance with the 'large' set at top looking the largest. The only 'problem sets' consisted of a missing set in cell 26 (it was replaced) and a set that got somehow inverted - this was also corrected.
Scale is in centimeters

I measured each onion plant in terms of gross height just for comparison purposes. Row 1 consisted of the largest sets while rows 2-4 were medium in size. The bottom rows (5 & 6) contained the smallest sets of the lot. 

Interestingly, after I graphed out the results, I noted that most of the plants were relatively equal in size (± 2-3 cm) with the exception of the really large sets. 

So, everything is growing nicely. My next update will be on or around the end of April 2013.

Click on to enlarge
May 8, 2013 Update: Well it's been about 60 days since I planted the onion  sets and as you can see, they have grown quite a bit. At this time, I haven't seen any evidence of bulbing. The lower stem portions of some of the onions measured about 12 mm across.

May 22, 2013 Update: A fourth onion (cell # 4-4) had bolted and was harvested on this date.  The other three had bolted a week earlier and all of those were from the 'large' sized onion sets. This one was from the 'medium' sized sets. Of note too is another onion experiment that was started on the 17th of March of which there are also 25 plants - none of these have bolted. All the onions are about the same sized and none have shown any inclination to bulb up even as this experiment is entering the 80th day.

August 18, 2013 Update: I've been pulling onions out of this space for a couple of weeks now with plenty more to go. The average size was fairly small weighing in at about 43 grams. The picture here of three peeled onions weighed in at 130 grams. These guys, though small, were still a good investment as I have plenty to use for the next couple of months.


Sunday, March 3, 2013

An experiment in growing onion sets!

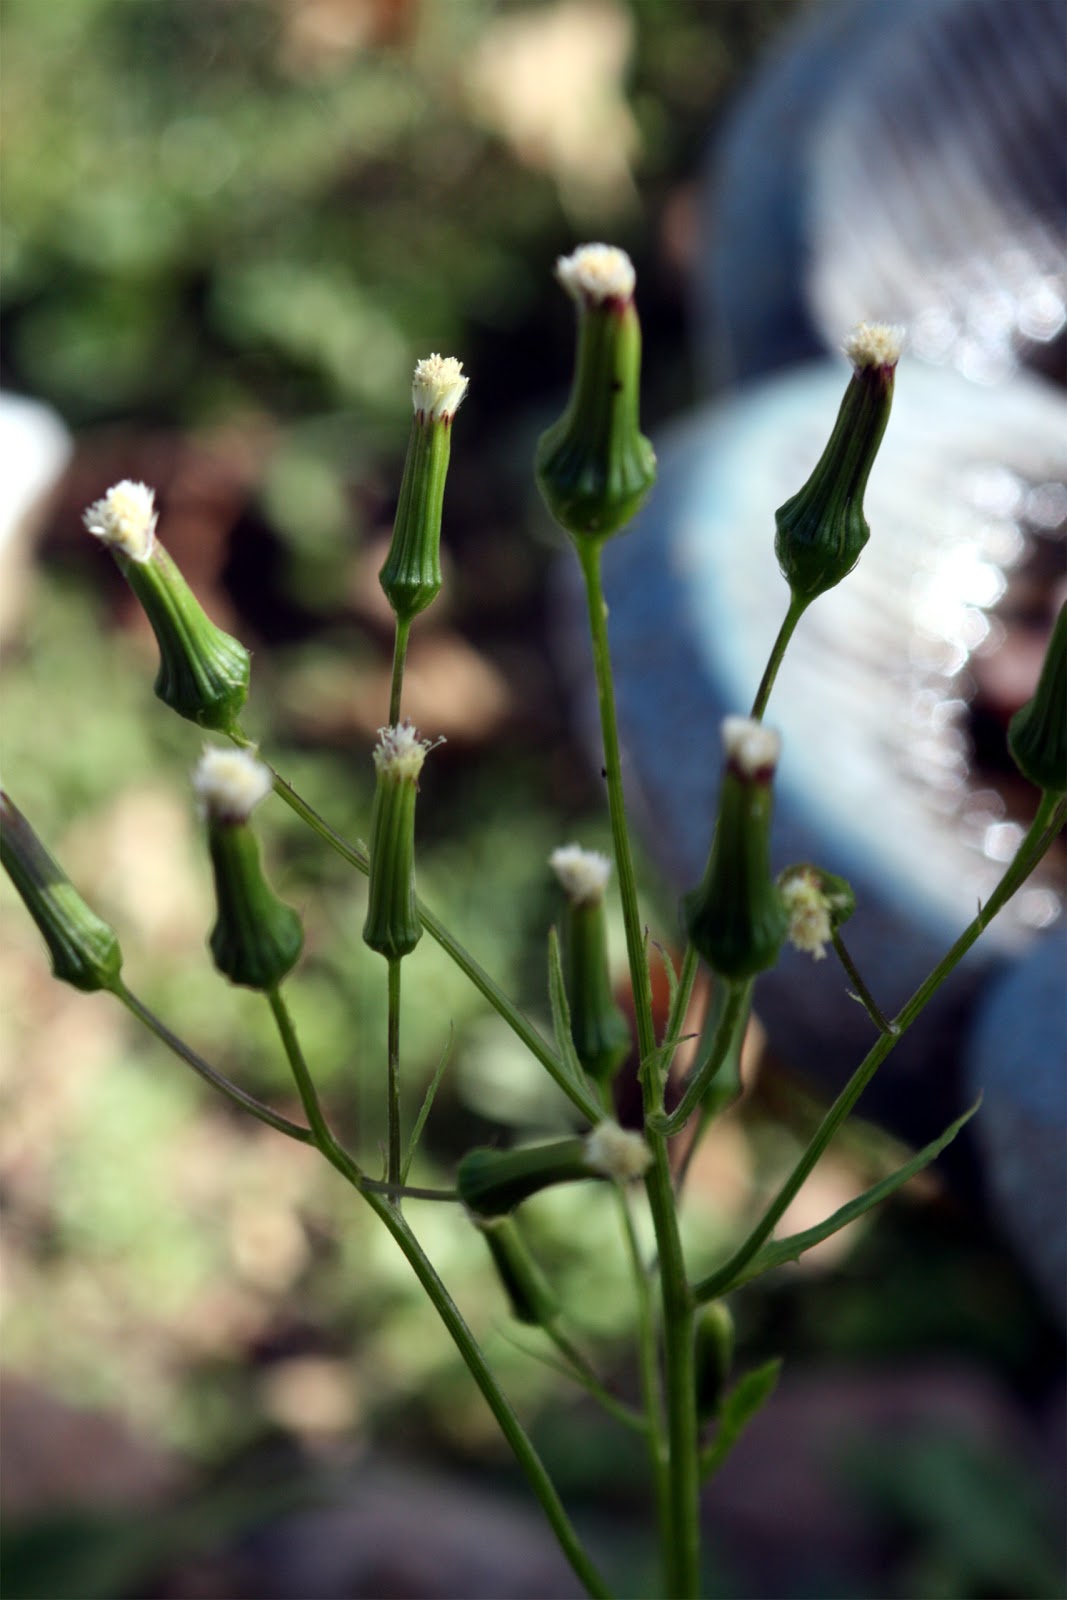
Yes, each onion is numbered!
As a part of my desire to grow bigger and better onions from sets, I've decided to see if I couldn't quantify the results of me trying to grow 36 yellow onion sets that came in three basic sizes; large medium and small. I wanted to get a feel for how the starting size of a set could possibly affect the end result at harvest time.

So saying, I selected 36 onions that sorted out as follows:

Diameter is in cm & the weight is in grams

Other information that is pertinent to this effort was the purchase price of these sets at a local grocery store which came to .17 cents each (or 61 cents for all 36 sets). Also, note that the diameter of each onion was expressed in centimeters and the weight was in grams. 

I am planning on setting these guys out in about a week or so, or after the weather warms enough for me to work the soil in one of my raised beds. Just prior to planting I will amend the soil with a bag of composted manure and sand. With onions, I want a loose soil, but not one that has an overabundance of nitrogen, a situation that would grow large tops and small bulbs! So, no fertilizer, just well aerated and manured soil to start.

The spacing for these sets will be a rectangular area that is three feet by two feet. This will allow me enough space to plant six columns of set spaced four inches apart with each column set 6 inches wide. In other words, each little developing onion will have plenty of room to reach its full potential, whatever that may be.

To complete the start of this growing process, I plan to much the area to help preserve moisture and will cover it with a grow cloth to help keep the birds from plucking out the starts (something I'm told they enjoy doing). I'll also make sure to monitor how much rain falls, so that they get at least an inch of water a week. and, that will be about that with the exception of occasional weeding as the need calls for.

In order to track how large each onion gets (or doesn't get), I've made a data file that will contain information pertaining to starting weight and size and then what each set achieved at harvest time. To that end, each onion is numbered and will go into a known location in the bed when planted. 

In future installments that will follow this experiment (designated YS3213), I will be reporting on the progress of this little group of yellow onions. Later in the spring, I plan to do a similar setup for white and red varieties. So, stay tuned! To track this series, just do a search using YS3213 as a search term!

Monday, January 30, 2012

I think I just caught the feeling of Spring!


Maybe you can’t tell from this picture, but it is happening! Ever so slowly, sol is creeping more to the north every day as February is now nigh. Now, with global warming taking a firmer hold, a beautiful day in the upper sixties became a reality this date as I wandered out and about my yard checking to see what might be growing and what is still in winter repose.

My small planting of Romaine lettuce is hanging in there. From past experience, I know that as the days lengthen, these small plants will have a growth spurt. A short time later, I should have some pretty decent heads to harvest.

Also, up and growing are the tulips I planted last August. Some of the plants are now about two to three inches high. Wow! I wonder if I can have blooms even in February? That would be a real jolt and a further confirmation that the climate is a changing. A subject of a recent Scientific American article that discusses how past changes in climate have brought down entire cultures!

Check out my webcam at WUnderground.com!

Monday, January 9, 2012

Tulips I planted in the fall are already up!


And you know what? I think, it being the first week of January and all, that it’s a wee bit early for that sort of nonsense to be going on! We still have a ton of time yet to go and I’m a fearing that these bulbs will get hurt when the weather takes a real nose dive.

I was given these bulbs by a lady who drove by my house one day and offered them to me, saying that she had these as leftovers. I thanked her and planted them in both the front and back yard in selected spots. Then forgot about them until one afternoon a day or so ago, I spotted them coming up. My thinking it that the weather has been a lot warmer than it should be. December was warm and January has been warmer still! I have to wonder. Is this due to global warming? Or, it is just Mother Nature being her flaky self? Well, we still have eleven weeks of winter to go and time will tell.

On a positive note, my romaine lettuce and kale have done well in the small cold frames I maintain out front. Even a small patch that was planted on the ground is still growing nicely. And, while the harvest will be sporadic and small, it still is nice to get some fresh greens this time of year. While at the grocery, yesterday, I saw heads of iceberg lettuce that were selling for $1.69 a head. Eee gads!

Tuesday, December 27, 2011

My garden plan for 2012 will be based on the disaster that was 2011!


January is approaching and as the cold of the winter months begins in earnest, I find this period of time is a great opportunity to sit down in my easy chair and make my plans for what I'd like to do in 2012. Like many plans we make, sometimes it's best to look backwards before moving forwards.

In this case, I wanted to review some of the challenges I faced in the spring and summer of 2011 to help me make some changes that might improve my harvests. Last year was not all I had hoped it would be as one crop after another failed for various reasons. Following is a list of some of them:

Too much moisture early on in the spring!

As a warmer than normal spring progressed in southwest Missouri in 2011, I had made a great start on plants like romaine lettuce, radishes and carrots. They had sprouted and, though still small, were looking good. Suddenly, towards the end of April, the rains came and came and came. All told, a narrow band of real estate from about the Arkansas border north, up to Ozark, got upwards of thirty inches of rain when fifteen would have been more the norm for the three month period Mar-May. That much rain, in such a short period of time really set back the plants that didn't outright drown!

It got hot hot hot!

After the flood, came the heat of summer which was also way above normal. The month's of June through August averaged over four degrees above normal with many days topping the hundred degree mark. All that heat when combined with average moisture helped to create a bumper crop of hungry bugs!

When bugs attack!

2011 saw three waves of bugs in my garden area and that's not counting the locusts that made hearing difficult! The first wave occurred in June with the appearance of the Japanese beetle, a bug with an appetite for just about every veggie and flower. Then came the cucumber beetles followed swiftly by the squash bugs that finished off whatever crops the other bugs had missed.

By mid July, I had retreated into air conditioned comfort and contented myself with watching the carnage through a window that over-looked the back yard. Outside I could just make out the audible crunching sounds of thousands of insects who were busy reducing my plants to stems and twigs.

After a bad year like that, I plan to make some changes in the 2012 garden that will be posted later in January. Happy gardening!

Friday, November 4, 2011

A mini November harvest!


Actually, it's still fall and will be until December the 21st! But, after going through a few frosty nights now, I was surprised once again by how vegetables do endure. That came home to me when I went out back to harvest some kale to make for my dinner tonight. I harvested a few leaves and then noticed a nice bell pepper hanging on a pant that was devoid of leaves. I then discovered three beautiful and ripe cherry tomatoes! And just when I thought my cup had already 'runnith over', I cam across radishes that were huge! I brought a few inside thinking that they must be pretty tough, but again I was wrong. They tasted fabulous!

OK, I am now ready for winter! Maybe....

Saturday, October 29, 2011

Free tulips from a very nice lady!


One afternoon, recently, I had just finished raking leaves and had sat down to rest when a Champaign colored car stopped in the road in front of my place. A pretty young woman looked at me and asked if I would like some tulip bulbs she had left over. I said ‘sure’ and then later on that afternoon when I got home from the grocery store, sure enough; there was a plastic bag full of bulbs by my front door!

Now, I’ll admit that though I’ve seen this lady in the past, I could not for the life of me come up with either her name or in which house she lives on my street. My bad. I would have like to ask her a few questions as to how and when I should plant them (if you read this, please leave me a comment so I can get in touch). In the mean time, the net came to my rescue. Turns out the ‘now’ is the right time and that tulips are pretty tolerant of soil conditions.

So, trowel and bag of bulbs in hand, I went out and planted bulbs all over the front area of my house where I already had other things growing. The few extra’s I had left over went into the backyard. Now, hopefully all I have to do is wait patiently for spring to arrive and I’ll see just what kind of tulips they will turn out to be!

Friday, September 30, 2011

Fall radishes from seed of spring plants!

These radishes have answered one question I had. I found that you can plant a spring crop of radishes, let a few go to seed, collect the seeds and then re-sow them in the fall. That's pretty good to know!

Monday, August 22, 2011

The rising cost of vegetables at our stores!


Here is a table that compares the cost of vegetables at a local grocery where I live in Forsyth Missouri. Note the 21% increase in just one year. This is not a scientific study, but a casual comparison.  Yet, it's just another good reason to raise your own!


Thursday, July 21, 2011

One measly cherry tomato, a stunted onion, an anemic pepper & a really short cucumber!

What to do with these lone survivors of a sun parched backyard garden? Why, make a salad of course! The head lettuce had to come from the local grocery, but that aside, I had enough veggies to make a passable salad mid-summer style!

 Low yields from the garden are a sad reality for me this year. The heat wave that has plagued much of the nation has also done a number on my growing efforts. What with water bills on the rise, I just don’t feel comfortable letting the sprinkler run for an hour or more as in days gone past. (In the frivolous 80’s, I remember actually watering just the grass. Seriously)! These days, it’s a quick squirt in the morning and then maybe another dribble in the late afternoon. (Like an old man with a bladder problem, my water pressure is also little on the weak side). The plants have responded accordingly and now have all wilted with many moving on to plant heaven. Can’t say I really blame them.

What hasn’t yet wilted and died from thirst has been ably consumed by hordes of rabbits that I no longer quite see. (They must come at some ungodly hour when, exhausted, I get some much needed sleep). The carrot crop has been nibbled to the ground and are completely gone while the few remaining tomato plants receive drive-by nibbles. (Ah, the laments of the heat and bunny beleaguered gardener). Yet, there is a bright side… of sorts.

When you only get a small handful of harvest, you also learn to appreciate every morsel. That’s the lesson I've learned in a year when the produce coming out of my beds is still a luxury and not a necessity. (Were times to get tough and were I to have to depend on the garden for my sustenance, then the game would take on a whole new flavor). Thankfully, that was not this year. Maybe next...only Obama may know for sure!

Be sure to check out my soon to be released blog entitled “The ins and outs of fresh rabbit on the grill!”

Tuesday, June 14, 2011

First Japanese Beetle of 2011 season now out and about!

While out walking this morning on a beautiful June the 14th, I observed my first Japanese beetle of the 2011 season on a miniature rose in my front yard in Forsyth Missouri.

While I’m sure this will only be the first of many sightings, it’s definitely time to get out the row covers and protect the plants you consider the most valuable. In my case, that would be the bean plants that are just now getting ready to bud out. I may also elect to cover my purple coneflower, but will wait a little to see just how attractive they will be to a bug that likes to eat most everything it sees.

Saturday, May 28, 2011

The rains have begun to let up and it’s actually warm outside!

After what has been a very wet beginning to the growing season, (two feet of water in the last six weeks), things are beginning to look up here in my little corner of southwest Missouri.

Even during the wet and cool days of the last few weeks, my raised beds plantings have done OK. The fact that they are raised up above ground level a little has probably helped a lot. Now, the weather service is beginning to call for somewhat dryer conditions and much warmer weather. Bout time!

One of the first to respond has been the zucchini plants that a friend talked me into planting. I think there are two varieties, a gooseneck and a regular zucchini, although I could not swear to it. (In years past, I could have told you the exact variety, when it was planted and how much water the darn thing had received. That was when my OCD reigned supreme. Now, I intentionally just let go and have fun). This will be my first year at trying to grow this vegetable. I’ve also never tasted it and look forward to the experience.

Monday, March 21, 2011

Spring lettuce seed starts!


While life has gotten in the way of my garden plans for this summer, I am still making an effort to begin a few plants to help ease what happening at the grocery stores. This year I am once again planting a variety called Little Caesar romaine lettuce that is offered by Burpee Seeds. Romaine’s cannot be beat for nutrition and taste!

I elected to start my plants, this season, in peat trays that can be purchased at local garden stores. They help make the process fast and simple. For a stating soil mix, I’m using Miracle Gro potting mix which is sterile and already has fertilizer in it.

In the first picture, I’ve planted single seeds, one per cell in to the soil mix which has been dampened prior to planting. The whole process takes maybe a half hour with most of that time spent waiting for the soil to get damp. The seeds are then covered with a simple plastic baggie ( I like to re-use old baggies this way) and placed under a two bulb grow light to await germination. This usually just take three or four day as you can see in the second picture here.

Sunday, January 23, 2011

On beans and beetles!


Even though it’s still mid-winter, I’m making my plans for a successful spring and summer garden. I’ll need to plant and work smart because just under the surface of the grass outside there are thousands of problems biding their time.

Every year now, for the last few seasons, Japanese beetles have made their appearance right around the first week of June. This is also the time of year when many of my garden vegetable groupings are young, succulent and the most susceptible to insect attacks. One of these will be a large planting of pole and bush beans, which by June are normally just getting ready to produce bean pods. Turns out they are also a favorite food of this beetle.

Known scientifically as popilla japonica, these pests originally arrived on our east coast sometime in the early 1900’s and have been spreading westward ever since. These days, you can find scattered throughout much of the Midwest. The beetle that is about 15 millimeters (0.6 in) long and 10 millimeters (0.4 in) wide, with iridescent copper-colored elytra and green thorax and head. It’s not very destructive in Japan, where it is controlled by natural enemies, but in America it is a serious pest of over 200 species of plants, including; rose bushes, grapes, hops, canna, crape myrtles and beans of course.

I have literally had an entire crop reduced to stubble in just a few days after a horde of beetles descended upon them. And while most insecticides will work on them, who wants to spray poison on their plants? Hand picking is another option, but it’s a pain. So, what else is there?  Plant early and cover!

By planting your beans as soon as the soil hits about fifty five degrees, you can get an earlier than normal start on a bean crop before the beetles even awake from their winter slumber. That way, by the time they are out and about, you have a healthy group of plants that can endure a lot in the way of damage. But, as they say in the commercials, that’s not all! I also like to use a very thin material called reemay to cover all my crops, not just the beans. This material is so light and transparent that it does not impede growth, but which is a very effective barrier to all sorts of nasty insects. It’s also relatively inexpensive, so I use it to also cover just about everything I can. By the end of June, the beetles are gone and so off come the covers.

Last year, when I did this, I was able to enjoy great production with everything I planted excepting the tomatoes. Those guys have always been a challenge for me to grow well.

Monday, November 8, 2010

A pleasant garden surprise - Curly Kale!

One of the biggest surprises to me for the gardening season that just ended was a plant called curly kale. I figured it to be a rough tasting thick skin offshoot of the cabbage family and really failed to understand why anyone would like to steam it as part of a dinner. Well, I was wrong again as it turns out. (Something I’ve gotten used to over the years). This plant tastes awesome when taken fresh from a steamer and then lathered with a bit of butter, salt and pepper. It has a wonderful texture with just a hint of the taste of cabbage. I’ve added it to my evening meals and plan to grow three to four plants next year. (Just one plant provides an awful lot). And did I mention it can fend off really cold temperatures? One morning it got down to 24F and while that pretty much killed everything else that wasn’t covered, the kale brushed it off like water off a ducks back.

Tuesday, October 12, 2010

Micro fauna found on the lower surface of Sycamore leaves


While walking, one afternoon, in a park close to my home in southwest Missouri, I happened to spot a low hanging branch of a Sycamore tree nest to the path. Out of curiosity, I examined a leaf. At this time of the year (October) many of the trees have leaves that are just beginning to change color. The veins of the leaf were just beginning to show a little bit of yellow but, that’s not what peaked my interest.

As I turned the leaf over, I observed a literal community of bugs populating the lower surface. There were tiny little leaf mites crawling over the surface in addition to many spider mites and leaf hoppers. Intrigued, I took this leaf home to examine under my microscope. The drawing represents what I assume to be a leaf mite that was about the size of the head of a pin. Not being an entomologist, I’m not sure what they are. The fact was that every tree I examined had large population of this bug on the undersides of many of the leaves.

Sunday, October 10, 2010

Unknown weed

I have this plant growing in abundance in a park behind my house. I don't think it's a dandelion, yet it releases similar airborne seeds this time of year. Right now even a gentle wind causes thousands to be release in the are. Sort of pretty, but some are finding their way into my front yard!

If anyone can fill me in it would be appreciated.